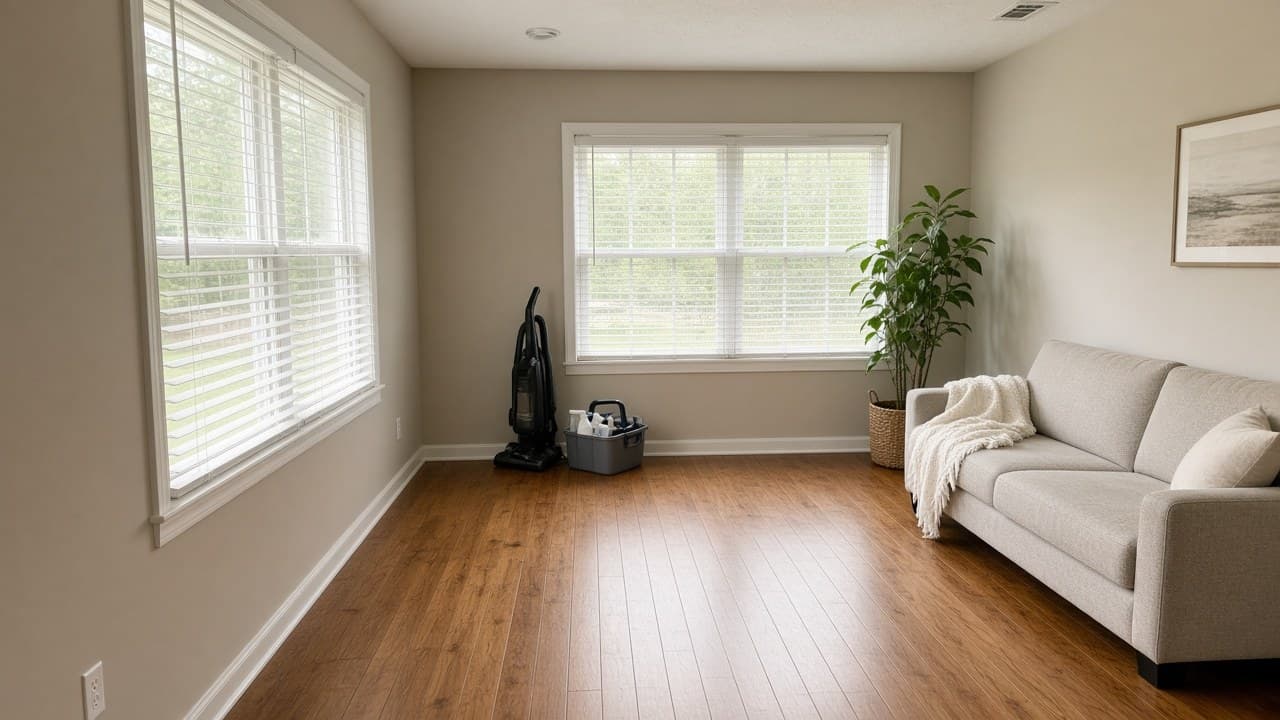
How Do I Prepare My Rental for Showing?
If you are asking "how do I prepare my rental for showing?", you are really asking two questions at once: "How do I make this place look great online?" and "How do I make it feel right in person?" The strongest listings do both.
This guide is focused on making a vacant (or soon-vacant) unit photo-ready and tour-ready before your listing goes live. It is different from a full move-in prep plan. If you want tenant-ready standards for handoff day, read How Do I Prepare My Rental Property for Tenants?. If you want the step-by-step process for running the actual tour, use How Do I Show My Rental Without Chaos?.
Start with your showing goal before you start cleaning
Many landlords jump straight into repairs or staging. That usually creates extra work. Start by defining your showing goal:
- Do you want to attract applications quickly at current market rent?
- Are you targeting a premium renter profile with stronger finishes and presentation?
- Is your priority speed, top-dollar rent, or a balance of both?
Your answers affect every decision that follows: what you fix now, what you delay, how much you stage, and how you price. If you have not finalized pricing and terms yet, review What Should I Do Before Listing My Rental? so your prep decisions match your leasing strategy.
Reset the property after vacancy or turnover
Before deep cleaning, do a full reset. Remove everything that keeps prospects from picturing themselves in the home.
Your reset checklist:
- Remove leftover furniture, boxes, cleaning supplies, and repair materials.
- Take down personal photos, old labels, and unofficial signs.
- Clear closets, cabinets, and storage areas so they look usable.
- Remove old air fresheners and anything that can signal a smell problem.
- Replace mismatched bulbs so every room has consistent, warm light.
This reset phase solves a common listing problem: photos that look busy, dim, and smaller than reality.
Clean for both camera quality and in-person trust
Showing prep is not just "clean enough." It needs to pass two tests:
- Photo test: dust, streaks, and floor wear become more obvious in high-resolution images.
- Tour test: prospects notice smell, airflow, and neglected corners immediately.
Focus your cleaning effort where renters judge fastest:
Kitchen
- Degrease cabinet faces and handles.
- Clean appliance fronts and interiors.
- Brighten sink and faucet finishes.
- Remove expired liners and odors under the sink.
Bathrooms
- Remove soap film and hard-water marks.
- Re-caulk visibly cracked edges around tubs or sinks.
- Clean exhaust fan covers and mirror edges.
- Neutralize drain smells.
Living areas and bedrooms
- Wash interior windows and wipe tracks.
- Dust baseboards, vents, and fan blades.
- Spot-paint scuffs around light switches and door frames.
- Steam clean or replace carpet sections that still look tired.
If turnover is tight, hire professionals for deep cleaning and carpets. A faster, cleaner launch often reduces vacancy cost enough to justify the expense. You can pressure-test your prep budget with the Cash Flow Calculator.
Fix smell, light, and clutter before cosmetic upgrades
Most weak showings are not caused by missing luxury upgrades. They fail because of three basic issues: odor, poor lighting, and visual clutter.
Smell
- Solve sources, not symptoms: trash bins, drains, damp closets, and old filters.
- Replace HVAC filters before photos and tours.
- Keep scent neutral. Strong fragrances make prospects suspicious.
Light
- Open blinds and curtains before photos and every showing.
- Use matching LED bulbs in similar color temperature.
- Replace dim fixtures in critical rooms like kitchen and main bath.
Clutter
- Keep surfaces mostly clear.
- Stage only a few focal points (entry, living room, kitchen counter).
- Hide tools, cords, and maintenance leftovers between showings.
These changes are inexpensive and usually improve both click-through on listing photos and in-person conversion.
Handle safety and function first, always
A showing-ready unit must feel safe and fully functional even before move-in details are finalized. Prioritize:
- Working smoke and carbon monoxide alarms.
- Secure locks on entries and windows.
- Stable handrails and trip-free walkways.
- Working outlets, switches, and basic fixtures.
- Leak-free plumbing and properly draining sinks/tubs.
- Doors and windows that open and close correctly.
You do not need a full remodel to be competitive, but you do need confidence that essentials work. For turnover documentation and condition tracking, many landlords start from the Move-In/Move-Out Inspection Checklist and adapt it for pre-listing quality control.
Decide what to fix now vs. what to leave for later
This is where many owners overspend. Use a decision filter instead of guessing.
Fix now if the item:
- Raises safety risk
- Makes photos noticeably worse
- Signals poor maintenance to prospects
- Causes daily annoyance (sticking doors, noisy fans, dripping faucet)
- Is hard to complete once tours begin
Leave for later (or skip) if the item:
- Is purely stylistic and not hurting demand
- Requires major downtime without rent premium in your market
- Is part of a long-term renovation plan unrelated to this vacancy
When uncertain, choose the update that improves trust fastest: clean paint, working lights, quiet hardware, and fresh caulk usually outperform trendy upgrades for lease-up speed.
Use light staging to show function, not lifestyle fantasy
Rental staging should be simple and practical. You are helping people understand room scale and flow, not creating a luxury showroom.
Smart staging approach:
- Define one clear purpose per room (office corner, dining nook, bedroom layout).
- Keep furniture proportionate so rooms look open.
- Use neutral bedding, art, and textiles.
- Add one or two plants for warmth.
- Keep counters and tables mostly clear.
Avoid over-staging with too many accessories. That can make photos noisy and tours feel cramped.
Boost curb appeal for the first 30 seconds
Online photos set expectations, but curb appeal confirms them in person. Before listing day:
- Trim landscaping and edge walkways.
- Remove dead plants, leaf piles, and debris.
- Power wash front paths if needed.
- Ensure house numbers are visible and readable.
- Replace burned-out exterior bulbs.
- Touch up peeling paint at the entry.
- Clean or replace worn doormats.
If your ad campaign is launching soon, pair this step with your listing copy plan in How Do I Advertise My Rental Fast? so visuals and messaging reinforce each other.
Special plan for soon-vacant units
If your current tenant has not moved out yet, you can still prepare early without disrupting the transition.
Practical pre-vacancy plan:
- Confirm access windows and notice requirements.
- Pre-schedule cleaners, painters, and repair vendors for turnover week.
- Pre-order standard supplies (bulbs, filters, touch-up paint, hardware).
- Create a same-day punch list for lock change, smoke alarm checks, and entry cleanup.
- Capture a maintenance scope during final walkthrough so you can launch work immediately after move-out.
For occupied listing logistics and communication guardrails, use Can I Rent My Home While It's Occupied?.
Photo-day checklist before your listing goes live
Use this checklist the morning of photos:
- All lights on, including lamps if staged
- Window coverings open and straight
- Toilet seats down, bathroom counters clear
- Trash bins hidden
- No cords, tools, or cleaning products visible
- Beds made with neutral linens
- Kitchen sink empty and dry
- Entryway swept and uncluttered
- Exterior photo taken at the brightest front-light time
- No cars blocking driveway or front elevation
After photos, review the gallery as a prospect would. If one room consistently looks dark or cramped, fix the room and re-shoot before publishing.
Final showing-ready walkthrough
Before your first tour:
- Stand outside and approach the front door like a renter.
- Walk room by room and test one key function in each space (light, lock, fan, faucet).
- Check smell at entry, kitchen, and bathroom.
- Sit in the living room and note what feels distracting or unfinished.
- Confirm your showing packet and application process are ready.
Then transition from prep mode to tour mode with How Do I Show My Rental Without Chaos?, so your on-site process matches the quality prospects saw online.
FAQ
Should I fully renovate before showing a vacant rental?
Not usually. Focus first on cleanliness, safety, lighting, and functional fixes that improve trust quickly. Renovate selectively when the market clearly rewards it.
What is the biggest mistake before listing photos?
Trying to hide odor with fragrance and skipping lighting fixes. Prospects notice both quickly, and photos cannot fully hide them.
Can I raise rent after stronger showing prep?
Sometimes, yes. Better presentation can support stronger pricing if comparable rentals justify it. Test different scenarios with the Rent Increase Calculator before final pricing.
How do I keep standards consistent across turnovers?
Use one repeatable checklist and document condition every time. If you are closing out a prior tenancy, the Security Deposit Return Checker can help you keep deductions and turnover notes organized for cleaner transitions.
Final takeaway
Preparing a rental for showing is about momentum and confidence: clean visuals, safe basics, simple staging, and a property that feels cared for the moment someone arrives. When you launch with that standard, your listing photos perform better, tours go smoother, and you reduce the chance of avoidable vacancy drag.
If you want the full lifecycle, pair this guide with How Do I Prepare My Rental Property for Tenants? for move-in readiness and What Should I Do Before Listing My Rental? for pricing and policy decisions.